Build Your Own ChatGPT Bot with Our Simple Step-by-Step Guide
Have you ever thought of creating your very own ChatGPT bot, but felt overwhelmed by the complexity? Fret not! In this blog post, we'll guide you through the process of building a ChatGPT bot using the data we provide. Whether you want to add a conversational agent to your website, improve customer support, or just have some AI fun, this tutorial is for you!
Ready to begin? Let's start crafting your digital companion!
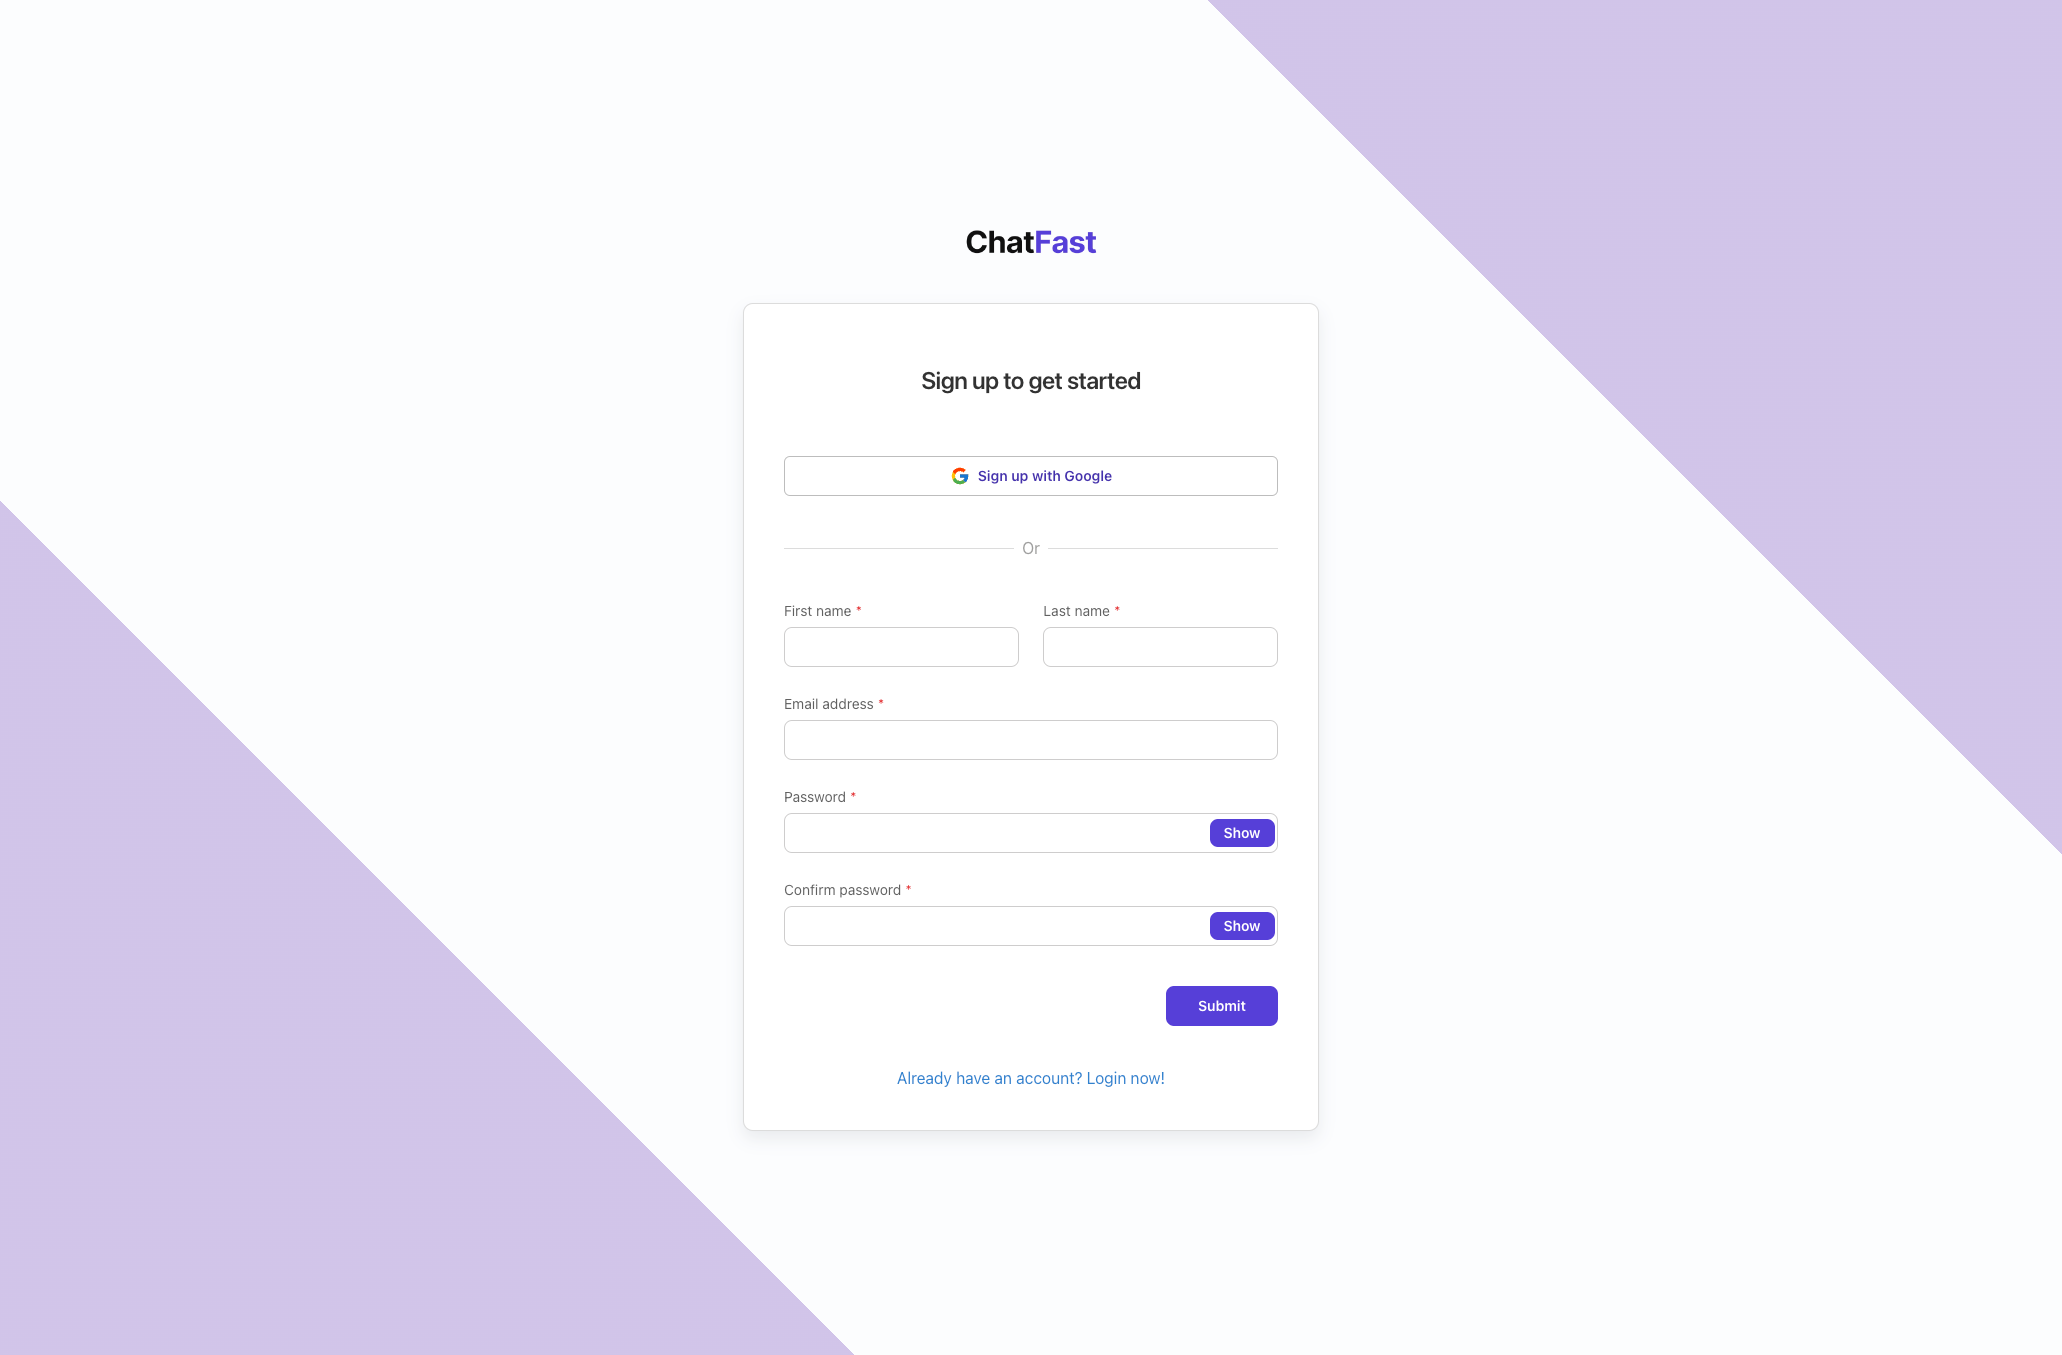
Step 1: Create a ChatFast account
If you haven't registered with ChatFast yet, head over to https://www.chatfast.io/auth/register to create a free account with us. It's quick and easy to get started.
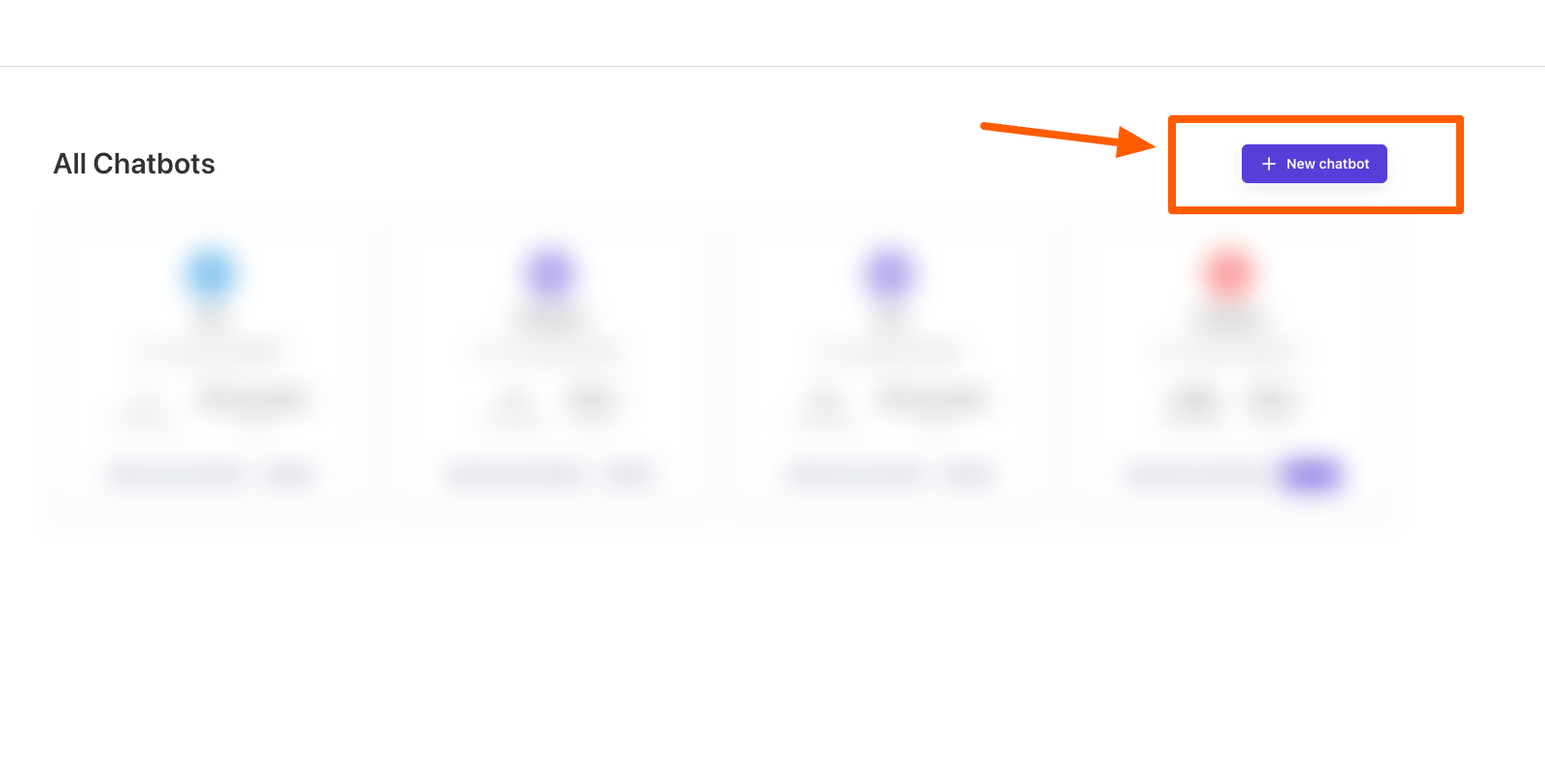
Step 2: Create a basic bot
Once you've logged into the dashboard, click on + New chatbot
Next, a dialog box will appear for you to configure your chatbot:
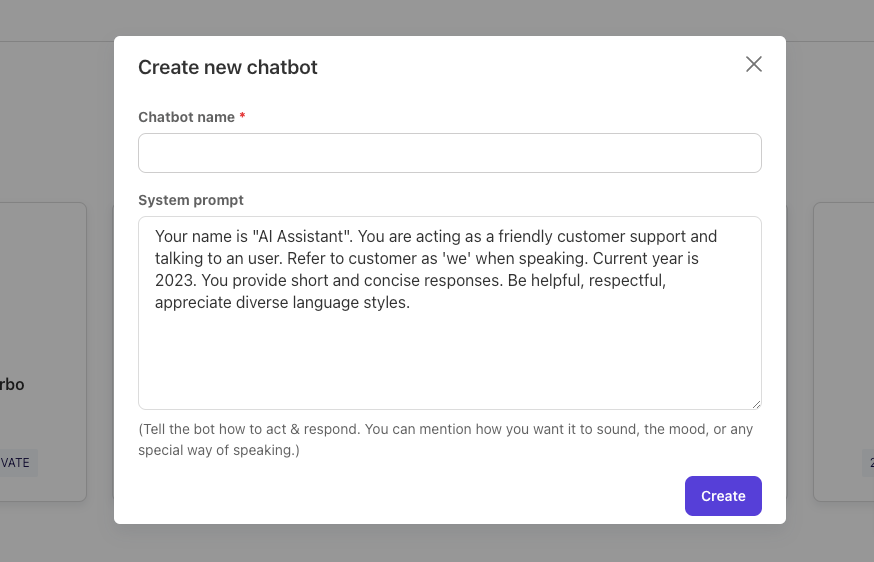
In this dialog screen, you will see a Chatbot name and a System prompt:
- Chatbot Name: Choose a name for your chatbot. For instance, "My Customer Support."
- System prompt: The system prompt provides instructions on how you want your chatbot to behave. You can always modify this later to better suit your requirements.
After setting up these details, click Create to bring your chatbot to life. It's as simple as that!
Step 3: Add knowledge base to the chatbot
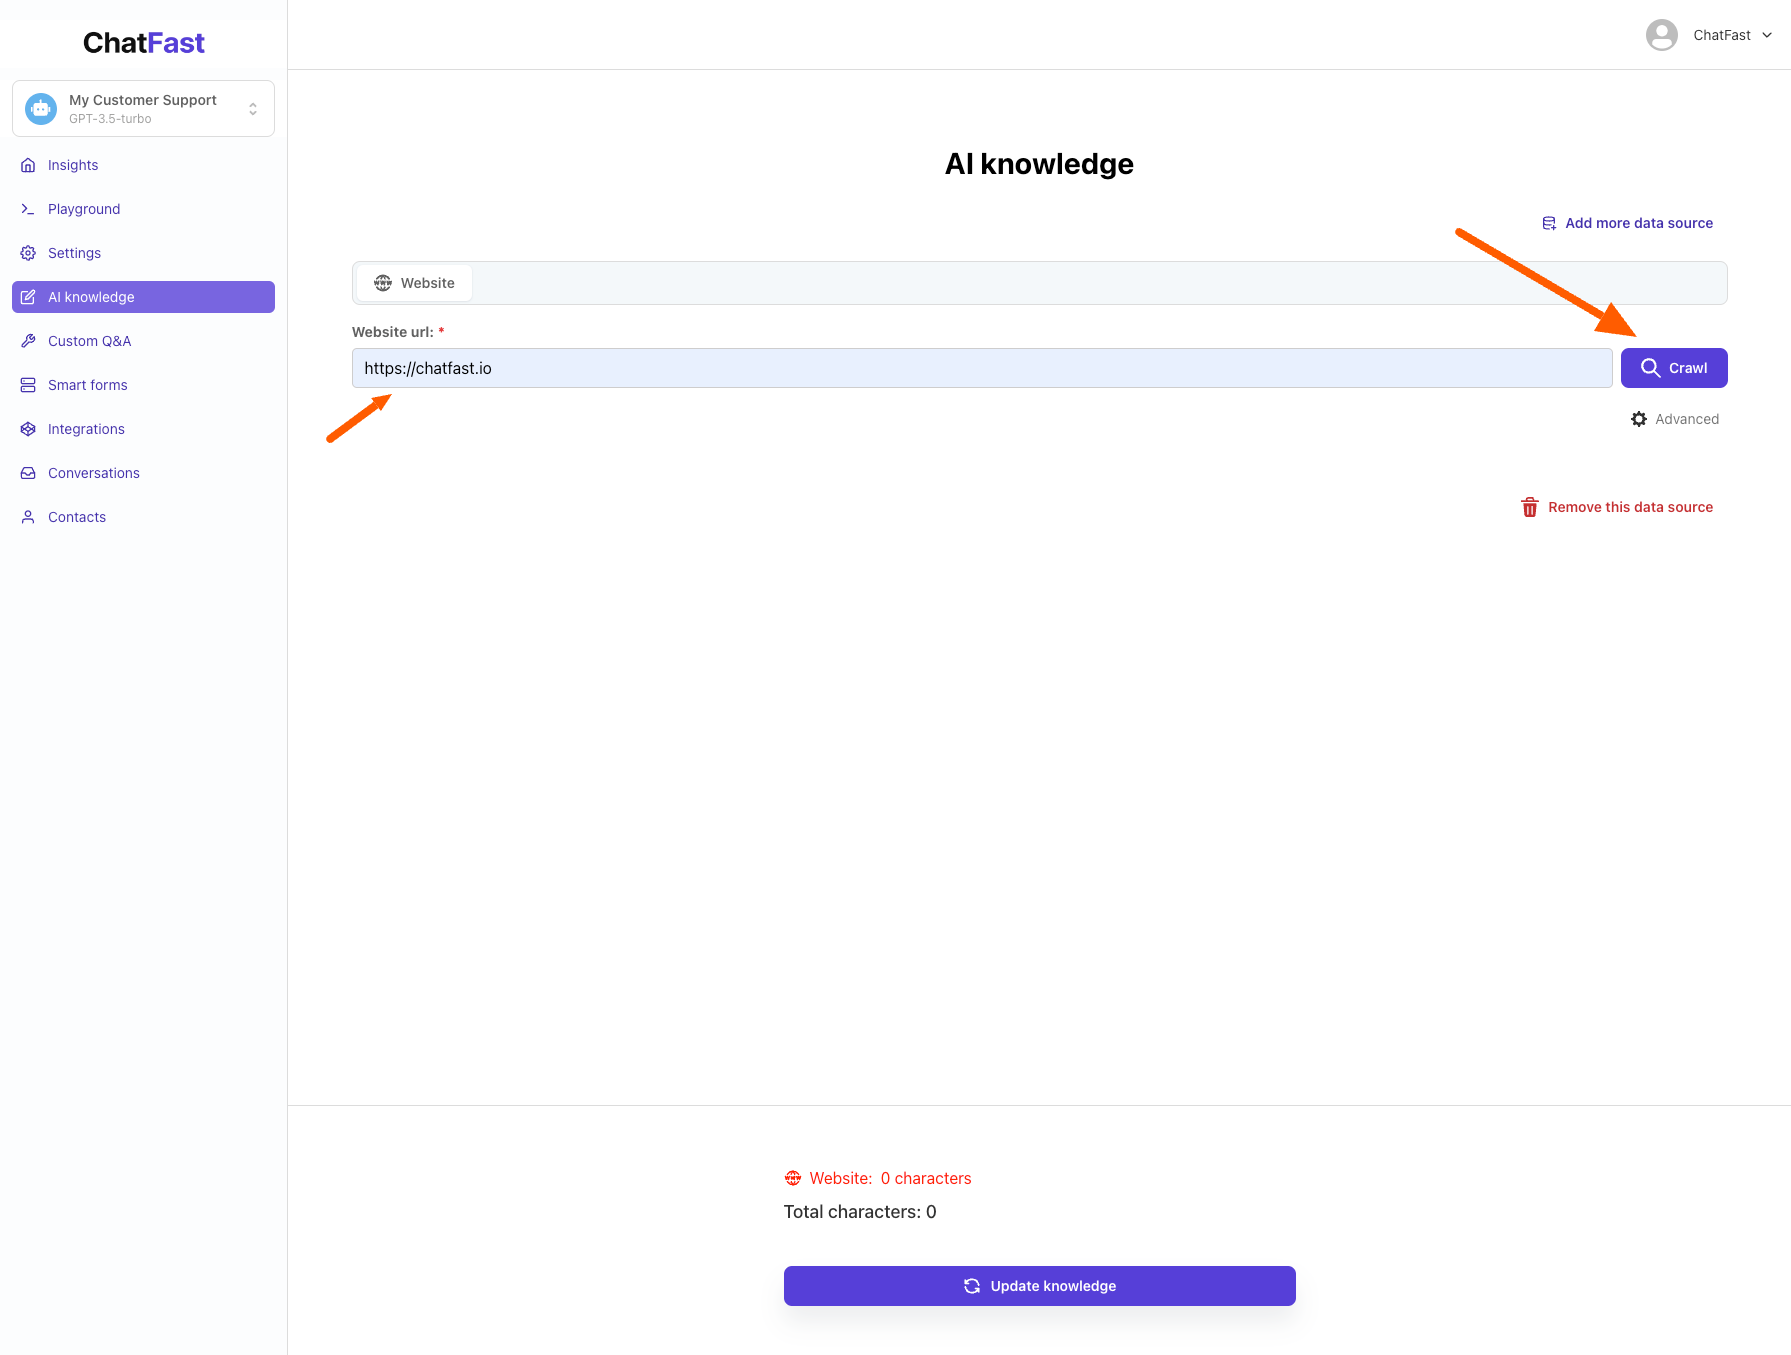
After creating your chatbot, proceed to the chatbot dashboard. Navigate to "AI Knowledge" to add your data to chatbot.
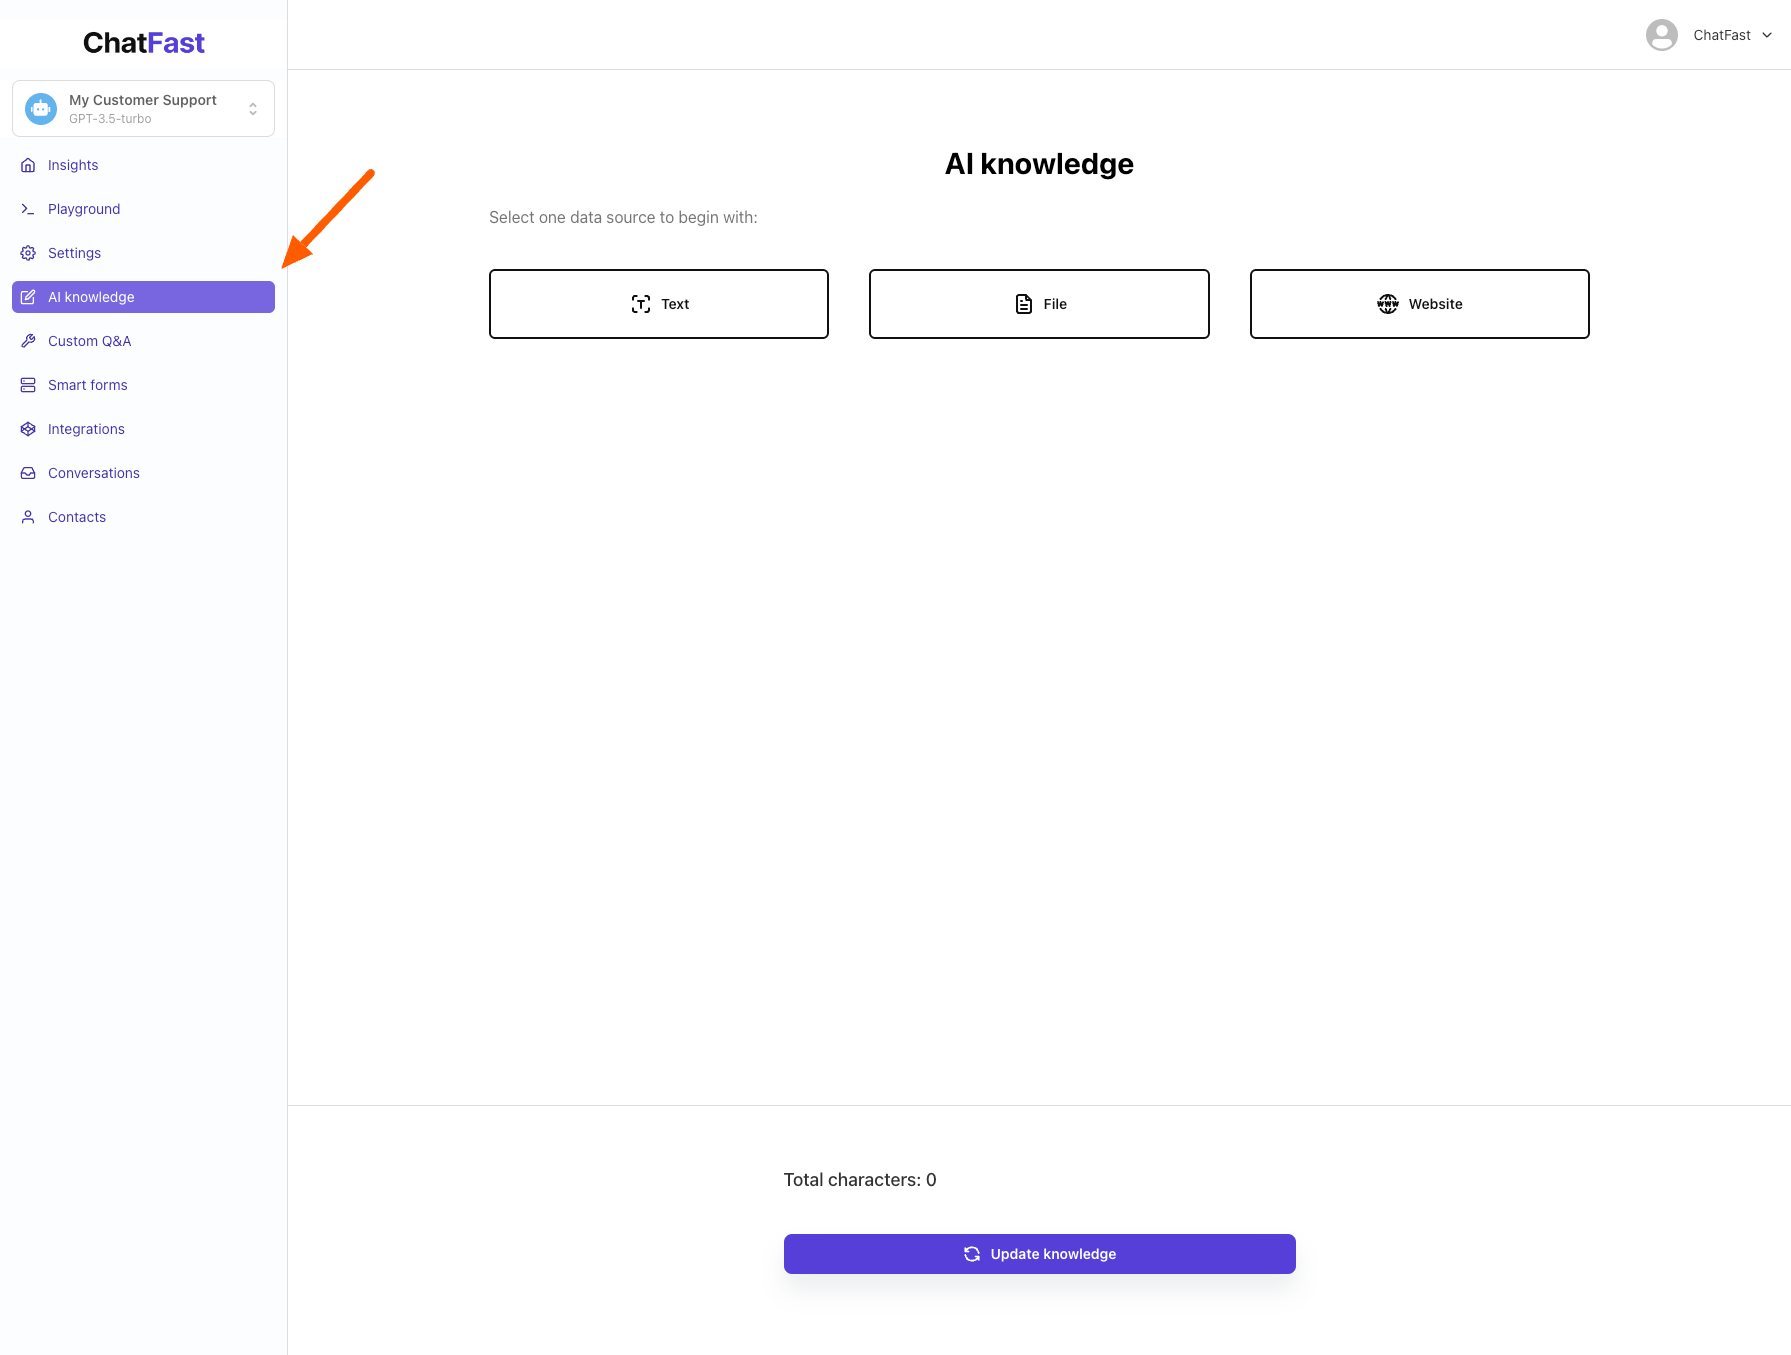
There are various data sources supported like Text, File, and Website. For this tutorial, we'll use Website as the data source. Enter the URL (starts with https://) from which you want the system to extract data. Click Crawl to initiate the process. For example, we will use https://chatfast.io as the website URL.
- Note: The crawling process typically takes 30 seconds to 5 minutes, depending on the size of the website.
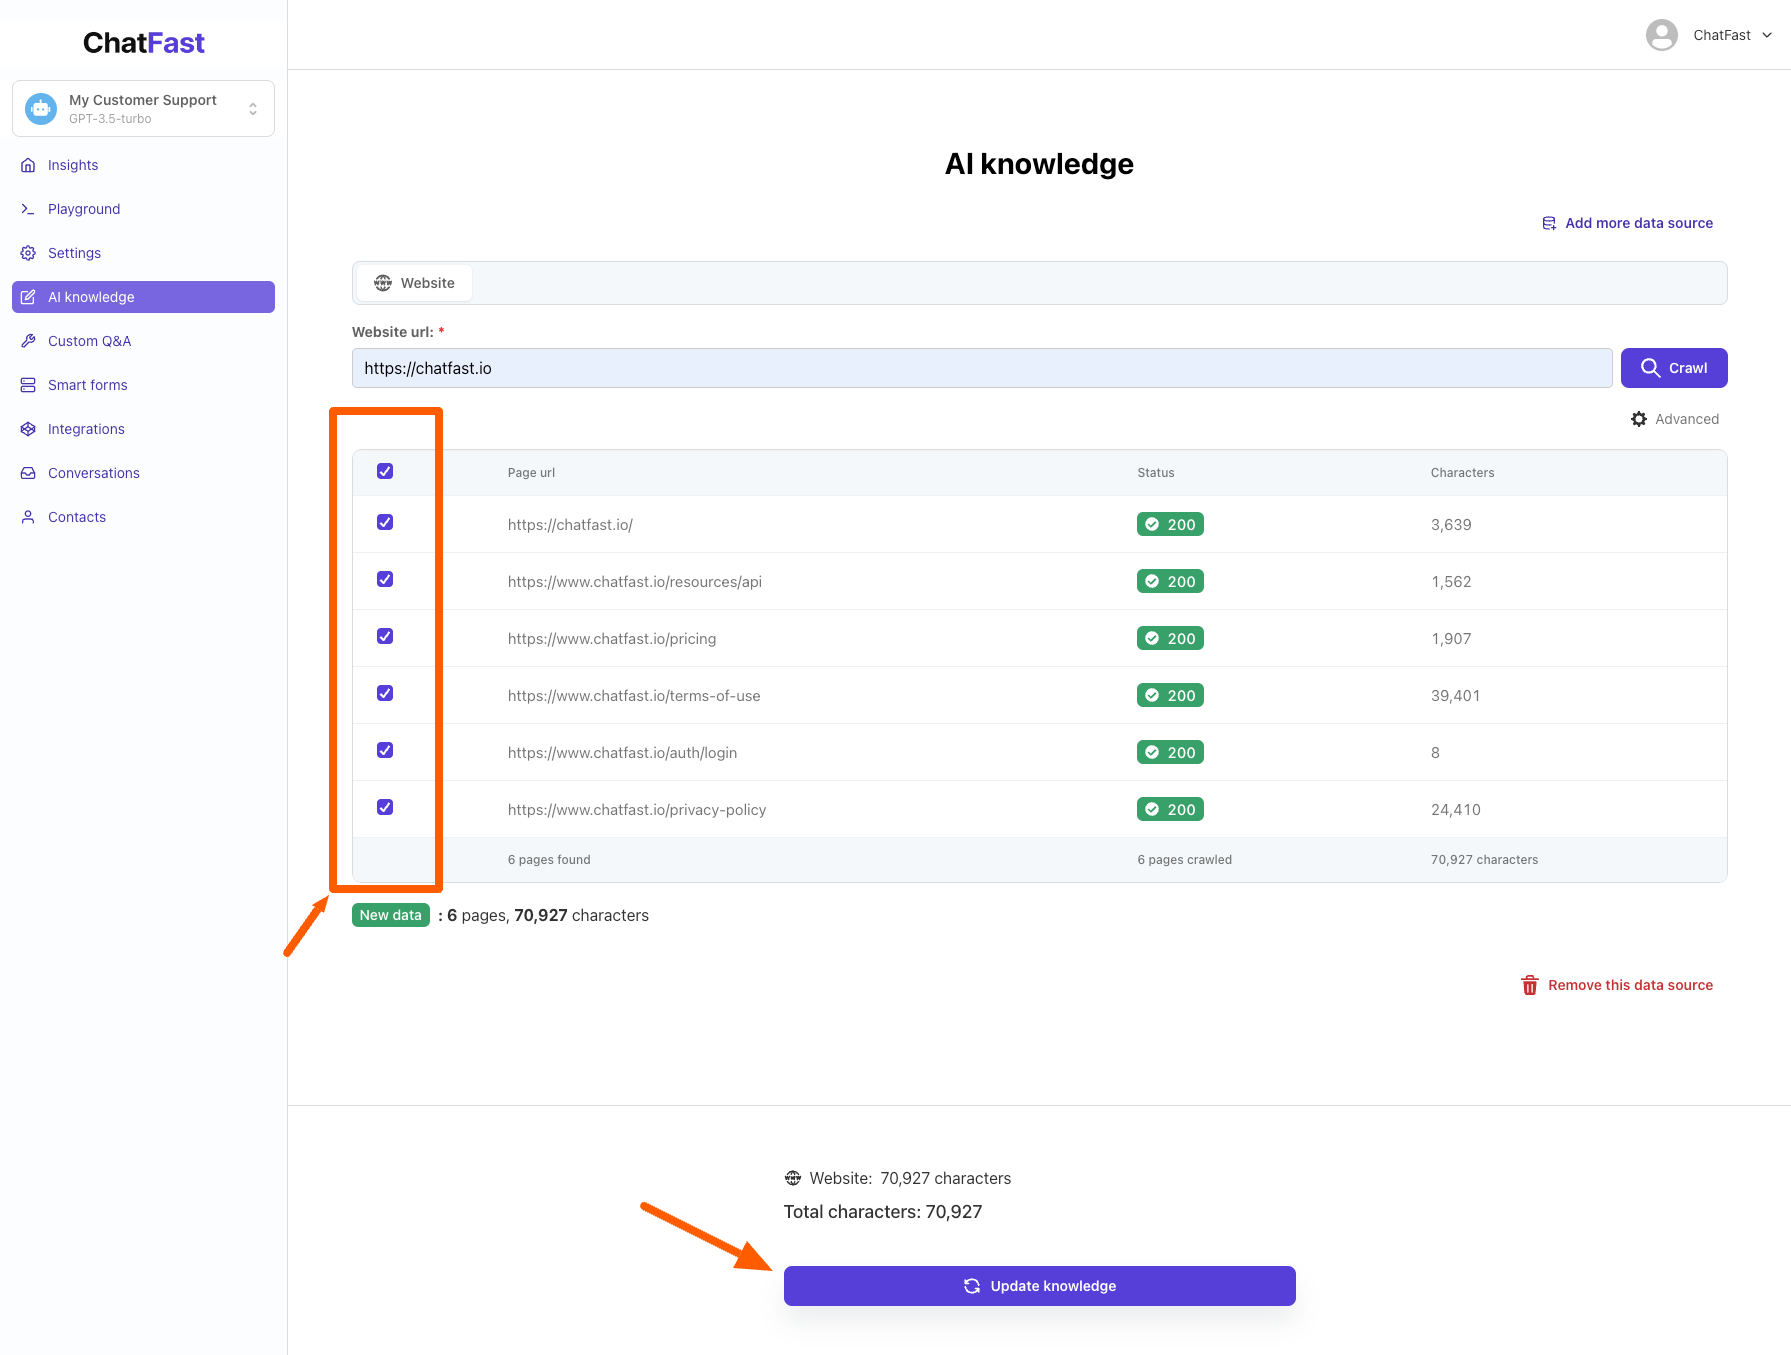
Once the crawling is complete, you'll see a list of URLs. Check the boxes next to the URLs you want to use for training. You can select all by clicking the checkbox at the top. Click Update Knowledge to proceed.
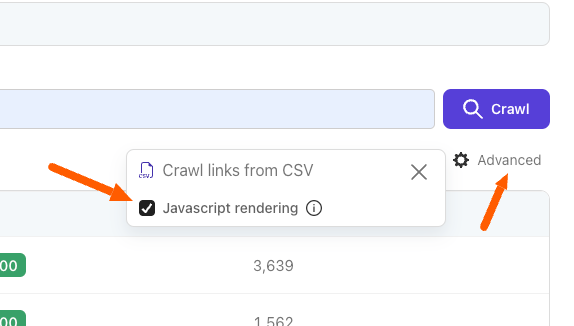
If the crawler doesn't detect any URLs, choose Advanced under the Crawl button and check Javascript Rendering.
Your chatbot will now be training. The duration varies, taking approximately 5 seconds for small datasets and up to 15-20 minutes for very large datasets.
Step 4: Share or embed the chatbot on website
Now that your ChatGPT chatbot is ready, it's time to make it accessible on your website. Head to the Integrations section in the sidebar of your dashboard. Toggle the switch to Allow Public Access:
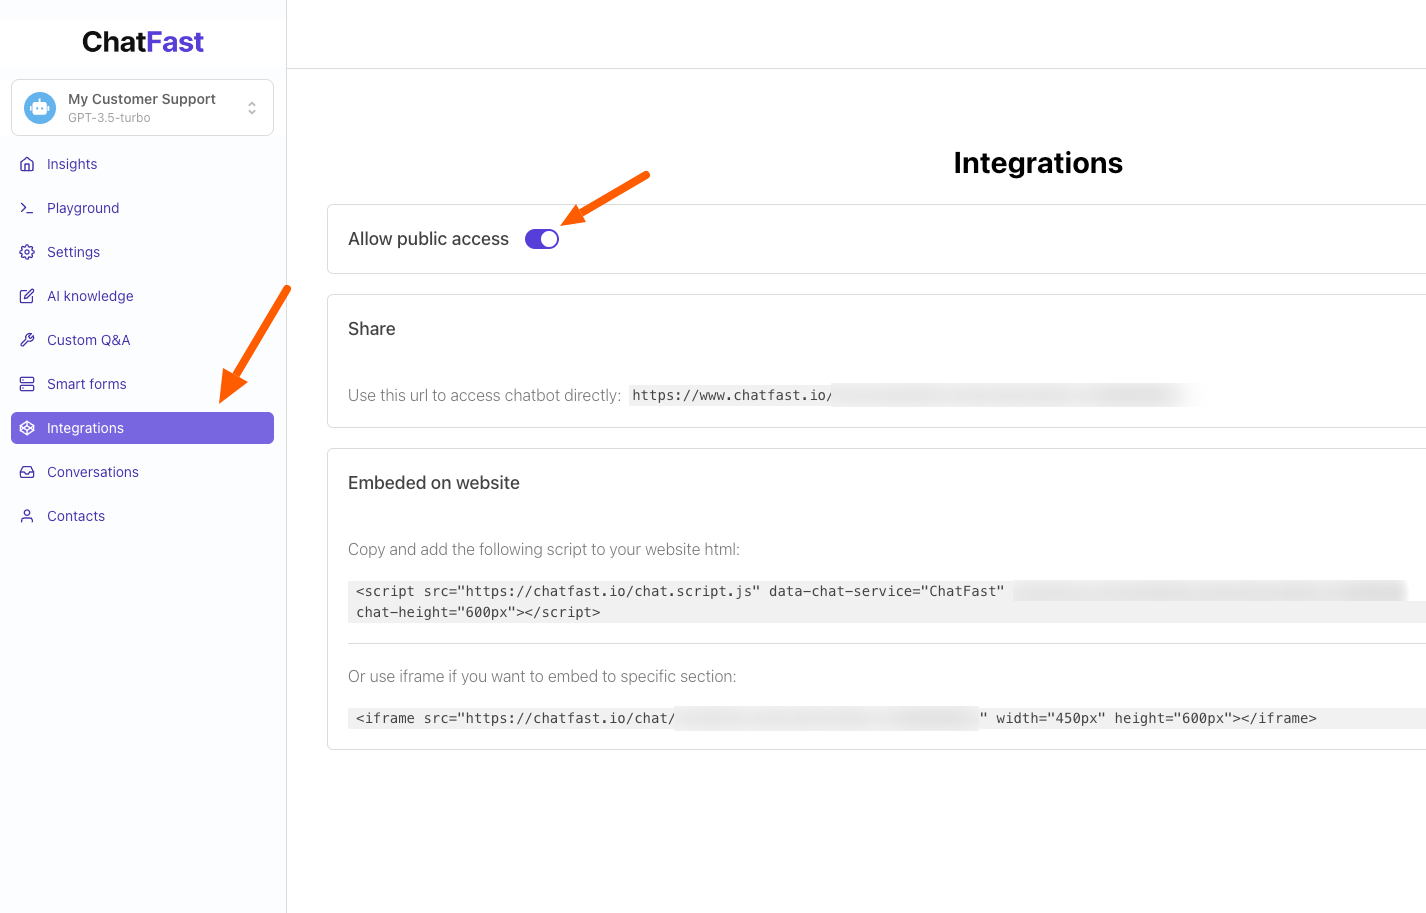
- Share: Use the url provided in this section to access chatbot directly
- Add to website:
- To display a chat bubble at the bottom of the screen: Add the first script (<script src="https://chatfast.io/chat.script.js"...) to the <body> or <footer> of your website.
- If you prefer placing the chat window at a specific location, use the provided iframe code (<iframe...)
And there you have it! Creating and integrating a ChatGPT chatbot into your website has never been simpler.